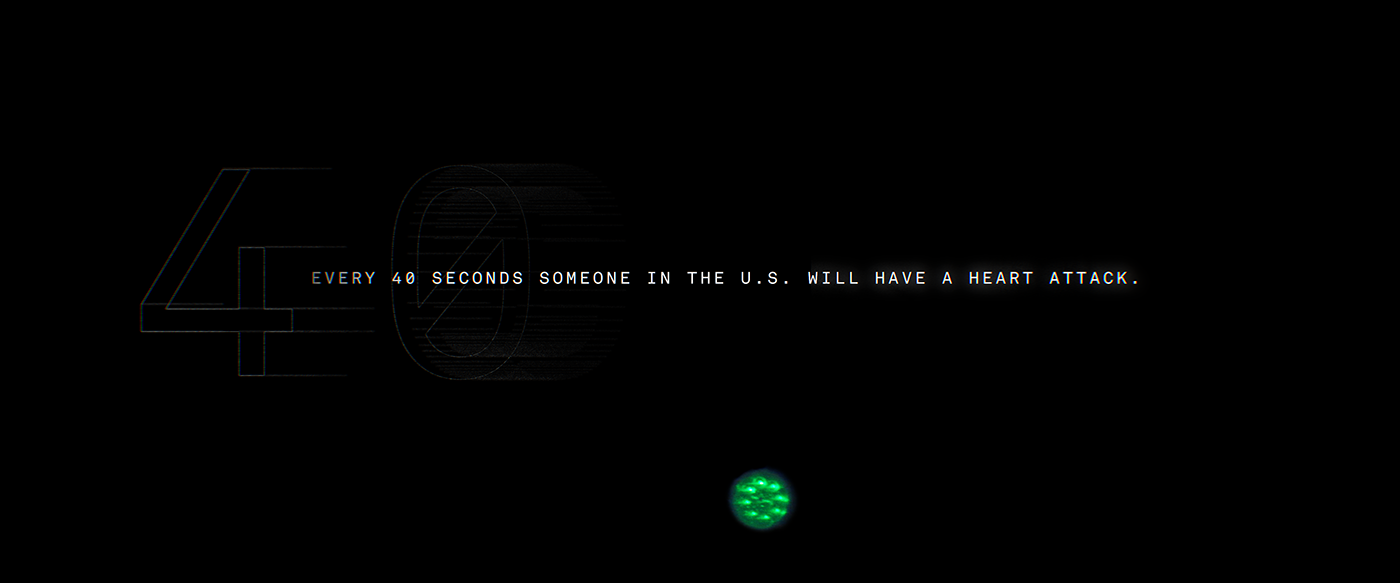
Every 40 seconds someone in the U.S. will have a heart attack. Professional dragster, Paul Lee was one of these people. He survived a widow-maker heart attack and was told he'd never race again. But with medical help, physical therapy, and a lot of dedication, he is racing his way back to the NHRA championship.
We had the pleasure of doing all the post on this branded documentary for WebMD, directed & produced by Courtney Dixon.
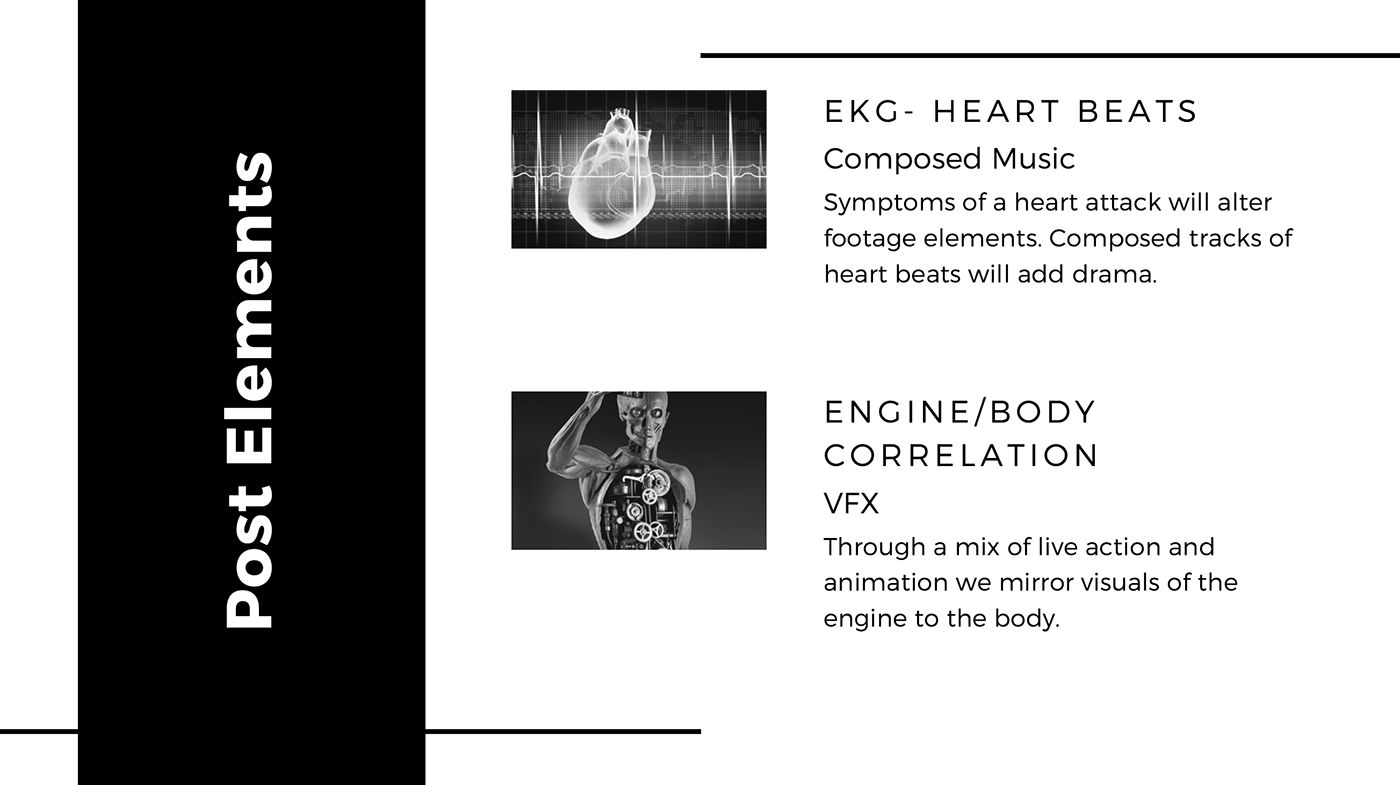
Part of Courtney's Brief

Edit
We had a lot of fun in the edit using a percussive style of editing, fun overlays, and a bunch of speed-ramping. Here is one section we'll break down with a few quick editorial tricks (this is a non-final sequence without mixing):
Sound design played a big role in this short editorial sequence. As an editor, Jonathan often grabs audio from a large sound library to begin the sound design process and to help fill-out edits for clients and collaborators. This was a moment where he mixed sound effects with real sounds from the pit crew to create a fun juxtaposition between the moment doctors were working on Paul's heart, and when Paul's pit crew was building out the engine of his Dragster.
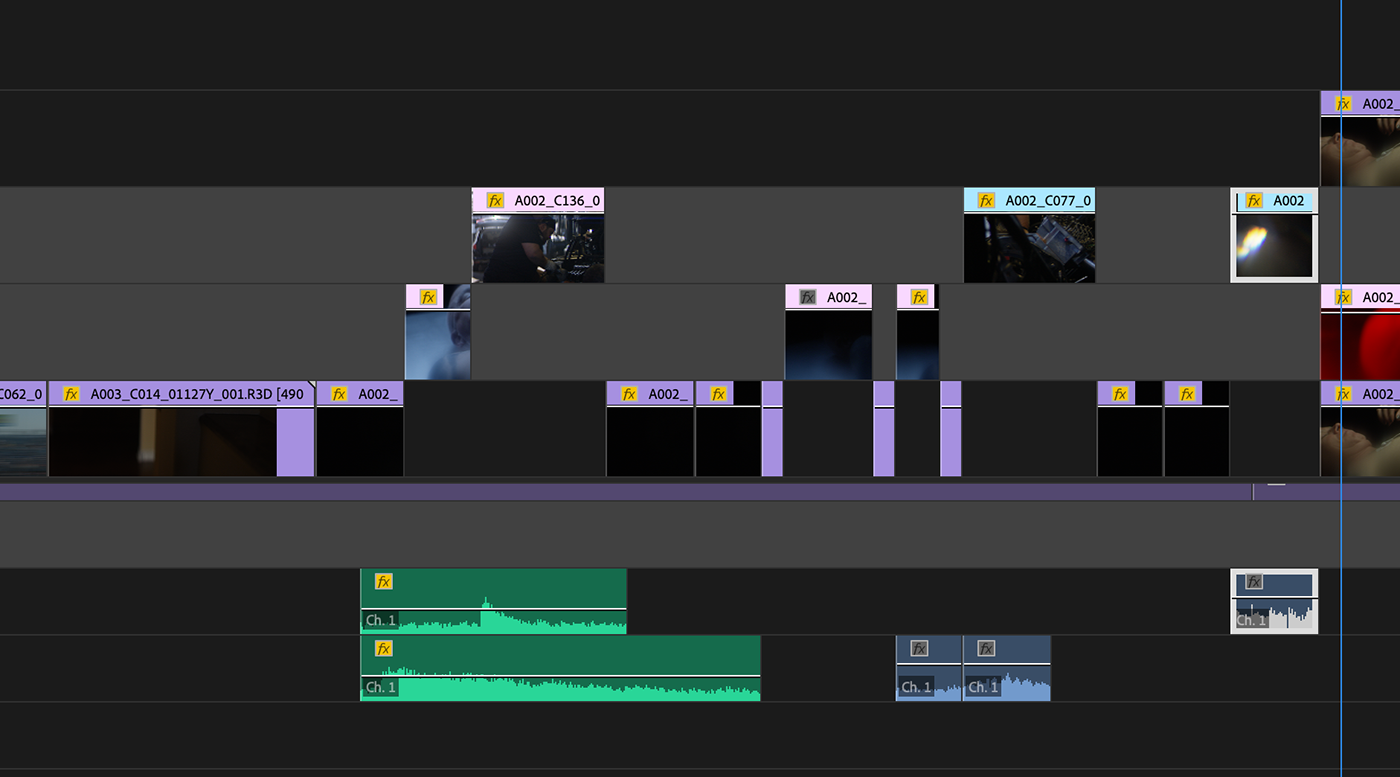
For presentation purposes edits are accentuated by track layer. The top layer (far right) is actually turned off here, but we use this for sending to color (where we've turned off visual effects and plugins).
If you look at the audio waveform in the bottom area of the timeline (e.g the green blocks), you can see that the edits were meant to line up with some of the sound effects.
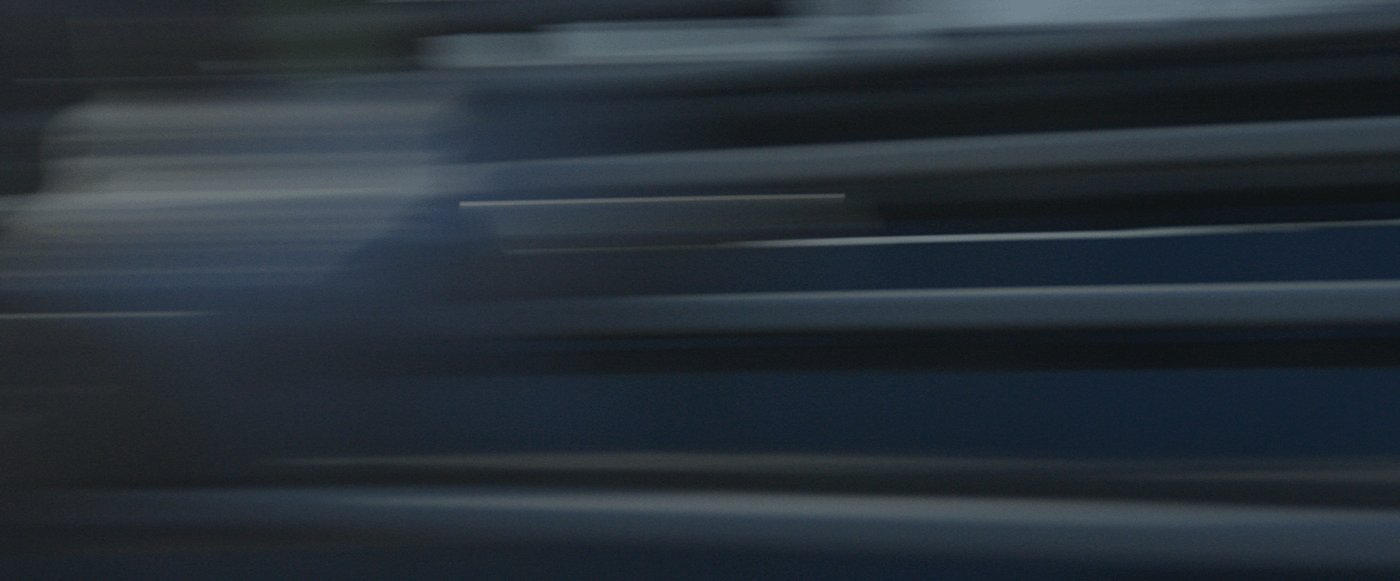
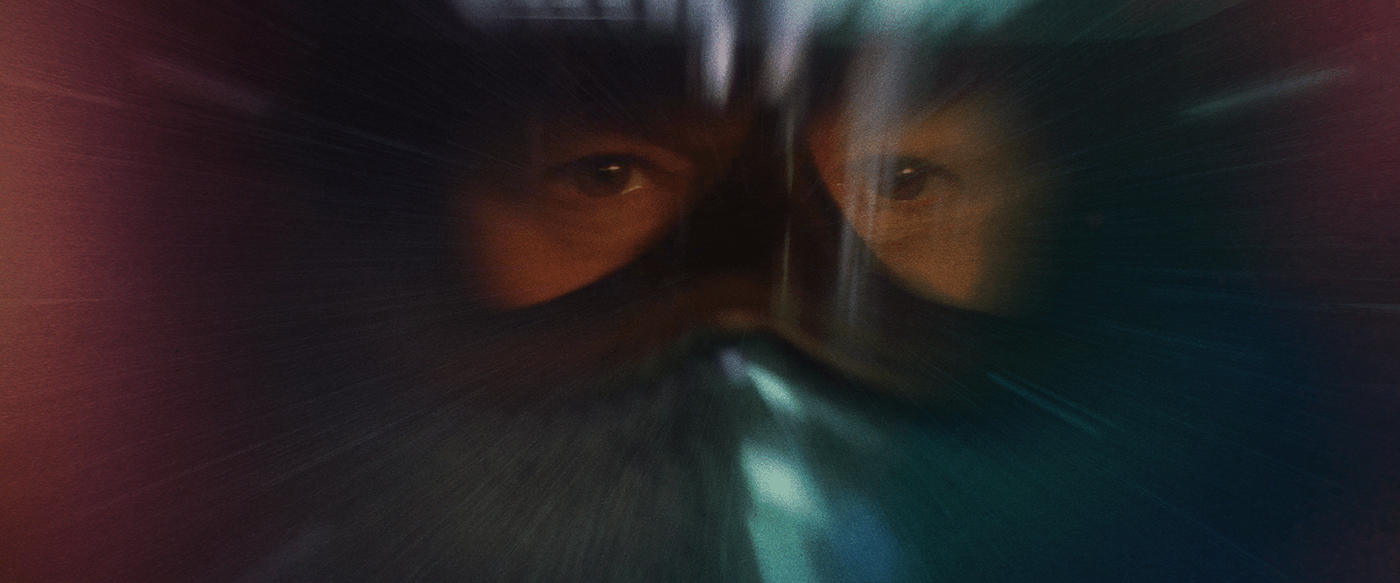
Using blend modes and opacity levels, we created a bit of an ethereal and disconcerting visual by pairing the full red lighting with the cooler blues from an alternate shot. Shout out to Courtney Dixon and Thomas Simon for doing some incredible work on-set. This contrasting of colors helps viewers feel the tension of the moment when Paul didn't know if he would survive his heart attack.
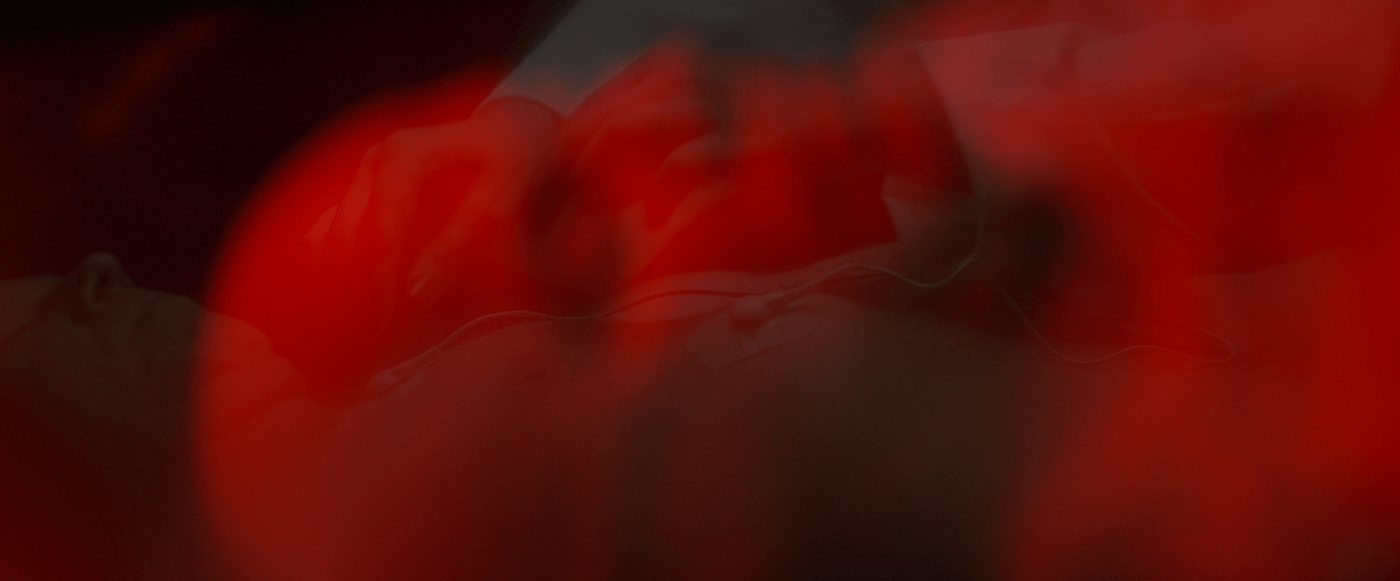
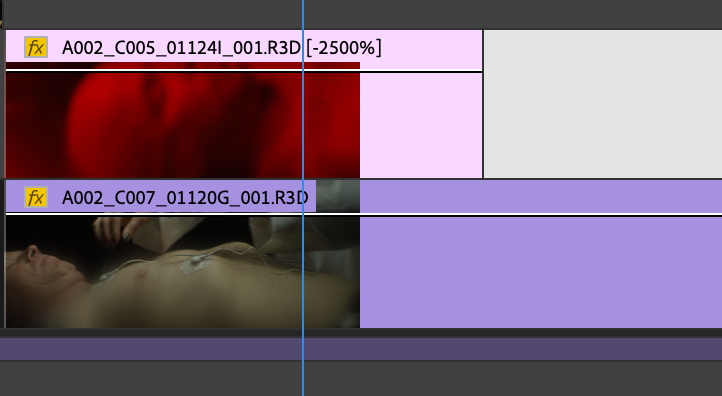
You can see the video stack in Premiere below. The top layer has an opacity of roughly 80% and a subtle additive blend mode. It also has a speed ramp of 2500% added to it. For added oddness, the clip was reversed:
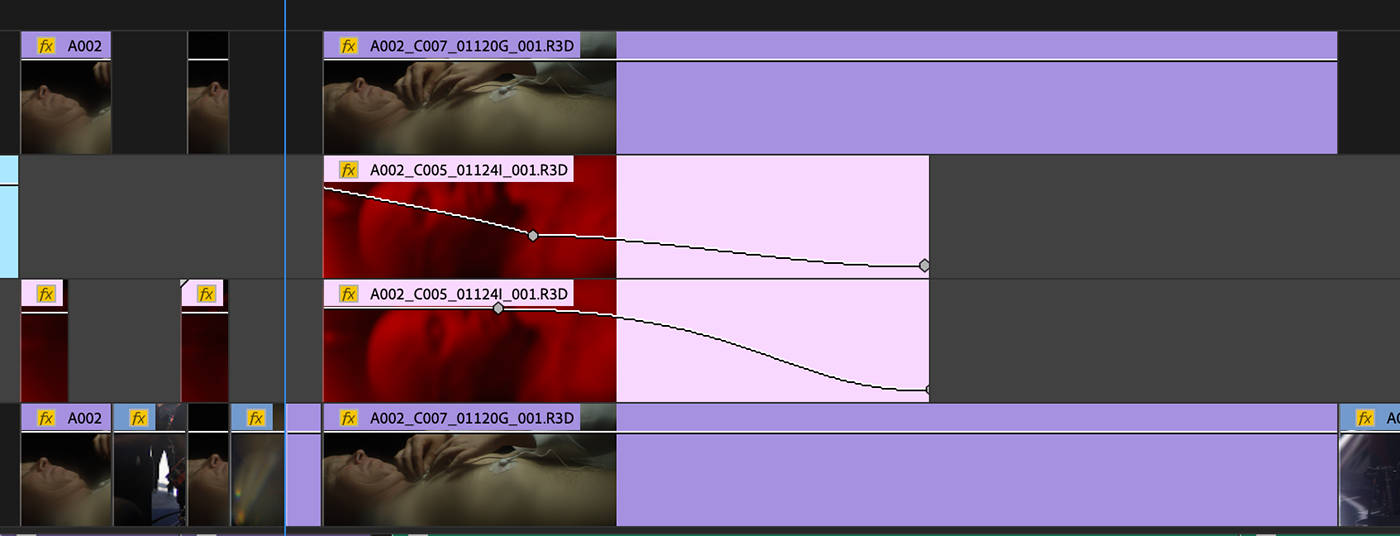
In the next section, Jonathan keyframed a blur effect in the red video layer to further distort and obscure the visuals to give the audience a sense of how disoriented Paul felt.


For added control, we keyframed the opacity of each layer near the end of the sequence. This helped visually represent Paul's slow return to life, leaving his fear and darkness at the time of his heart attack. Also, we use a lot of the 'ease' function when keyframing for transitions or fades:
Finally, one big tip for any editor is to watch all of your footage before editing. It's easy to dive in with some quick shots that look great, but finding roll-outs, awkward character moments, or other interesting visuals is important to crafting the best story and the best edit possible.
We used a bunch of fun camera mistakes and awkward moments from Paul's interview and b-roll. Here's an example where the camera quickly turns from one angle to a new one, but that in-between moment worked nicely in this chaotic section of the edit:
In this next short sequence we adjusted the size of the frame to enhance the initial explosion from a Dragster's engine when jumping off the starting line. Below the video you can see how stacked videos were cut in a percussive way.
In the Styleframes section, you'll see how Ryan Butterworth ultimately treated the different sizes graphically for a finished look.
Here's a screen record of Jonathan's Premiere timeline:
COLOR
Here are some initial color looks Heather Hay explored.
LOOK 1:


LOOK 2:


LOOK 3:


A near final look (mixing cool tones with contrast):


For sections of the film where we push the visuals, we wanted to create a slightly more unique and gritty style. Here are some initial explorations from Heather:


Styleframes
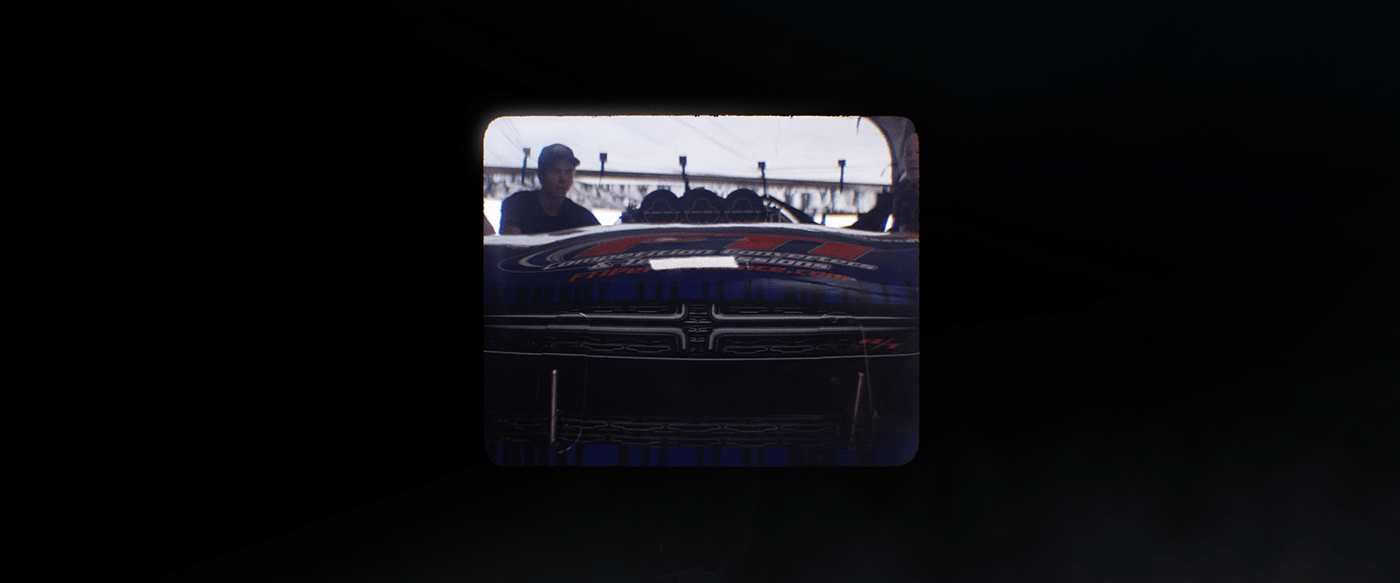
Ryan treated all cropped and re-sized visuals in a fun 8mm style:
Here on the left, we created a timer to show how fast the Funny Cars go in as little as three seconds. And on the right, Ryan animated scar tissue slowly covering the frame as Paul discussed his heart healing from his heart attack. Later, as his health improved, the scar tissue recedes, showing more clarity while Paul speaks.


On the left, Ryan used chromatic aberration and distortion to add to the feeling of speed once the car peels out. And on the right, Ryan & Steve Savalle created small rocks that rumble and levitate as Paul is recalling the power of his tires on the road.


At the end of the film, Ryan designed and Terence Ginja-Martinho animated a cool moment where Paul is racing. We had to do a good bit of vfx work to center Paul in the frame, add rumble, focus attention to the center, and add the feeling of speed.
Design Process
We liked the idea of designing loud, large and full frame, but also needed to design subtly to honor the fragility of the content.
To accomplish this, Ryan outlined large type and came up with a trailing solution in Cinema 4D. By using the Tracer, along with a white hair material, we were able to experiment and get renders out quickly for boarding.
Photoshop layer breakdown.
Visual Effects
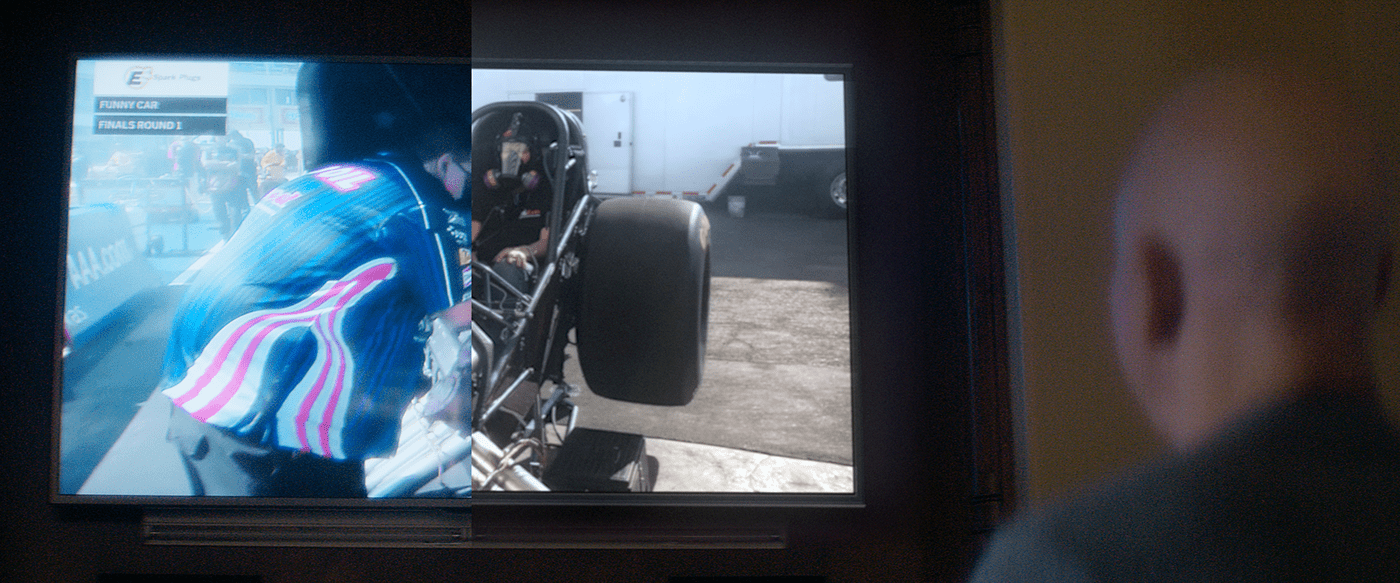
Before & After | TV screen replacement.
The footage we received had content already on a TV screen, which was great for visual reference, but made tracking and compositing tricky especially given the small TV bezels and large amount of bloom.
After a few attempts of tracking and compositing new footage over the old, we made the decision to completely remove the old TV, insert a blank TV in its place, and composite footage into that.
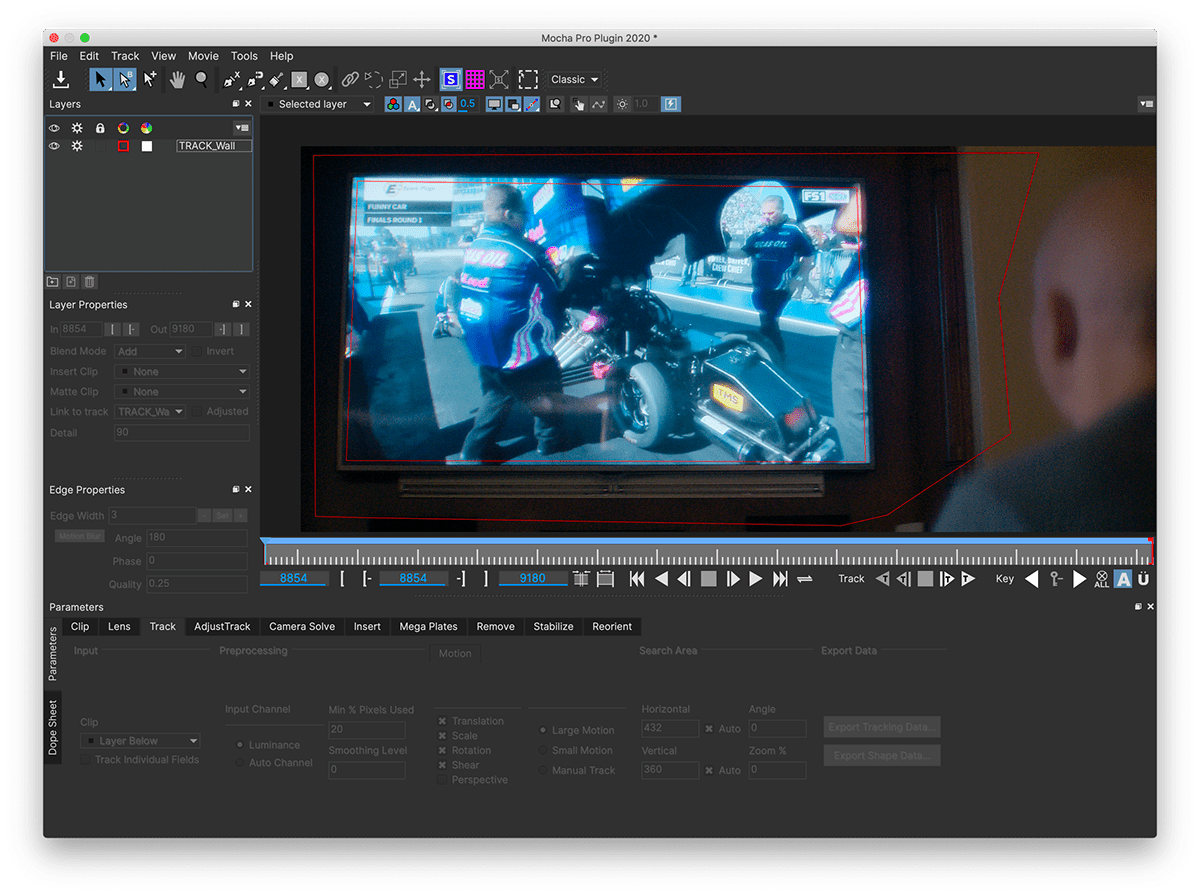
Mocha Pro.
Throughout the film, we also replaced large-screen displays at the race track with footage of Paul discussing options with his doctor. Courtney had the idea of making it seem like the racetrack crowd was following along with Paul's story. A really fun concept!
We mixed a few 3D/2D techniques for the rumbling pebbles and water ripple shots. For the pebbles, we tracked the camera movement in Cinema 4D, brought in a few low-poly pebble models under a Cloner object, and used a Random effector with a noise animation to oscillate the position and rotation.
We also rendered out a matte of Paul's hand for compositing the pebbles to ensure rogue pebbles didn't show on top of his hand.
We also rendered out a matte of Paul's hand for compositing the pebbles to ensure rogue pebbles didn't show on top of his hand.
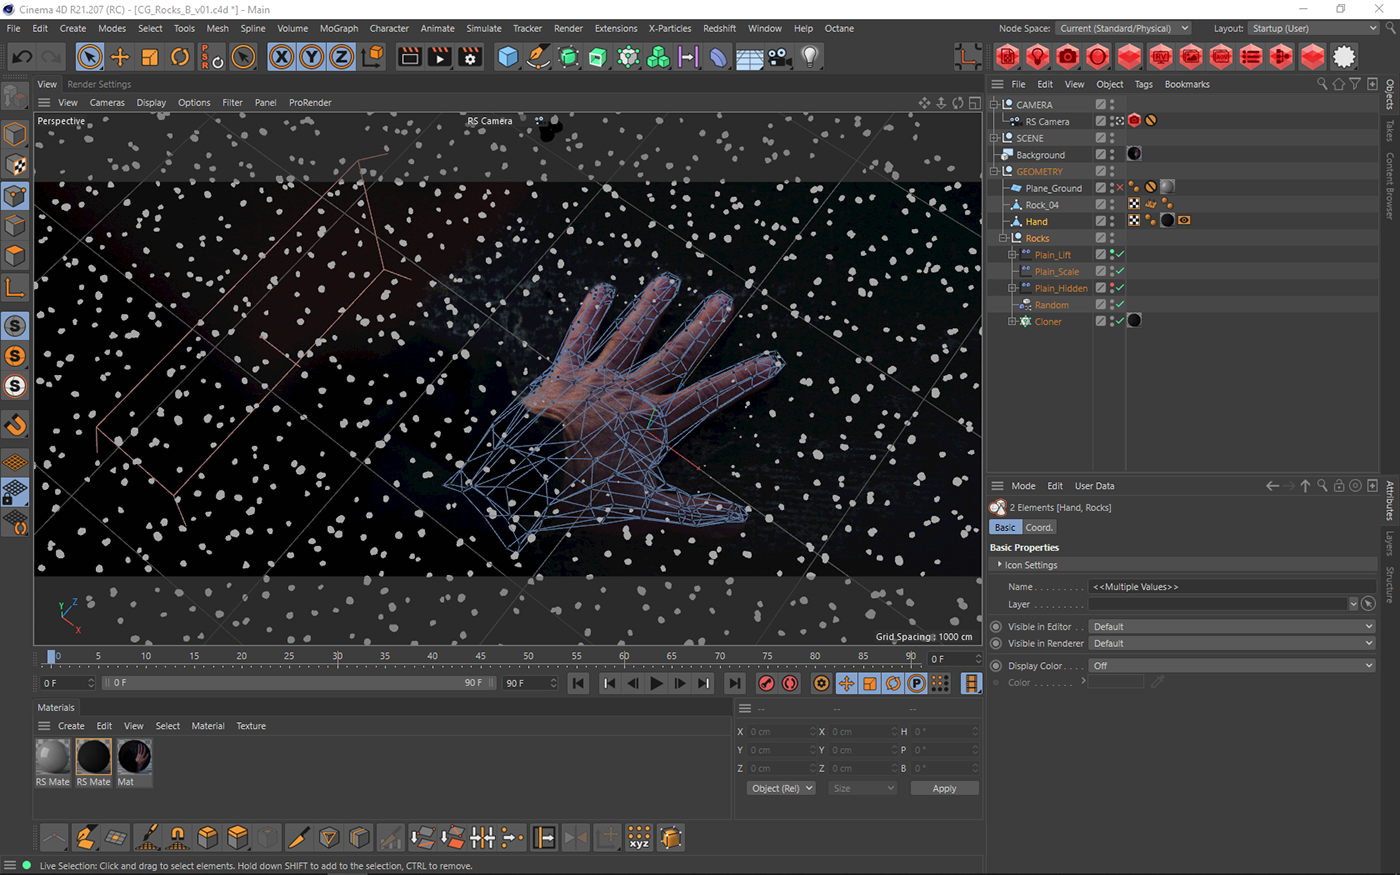
Cinema 4D scene setup.
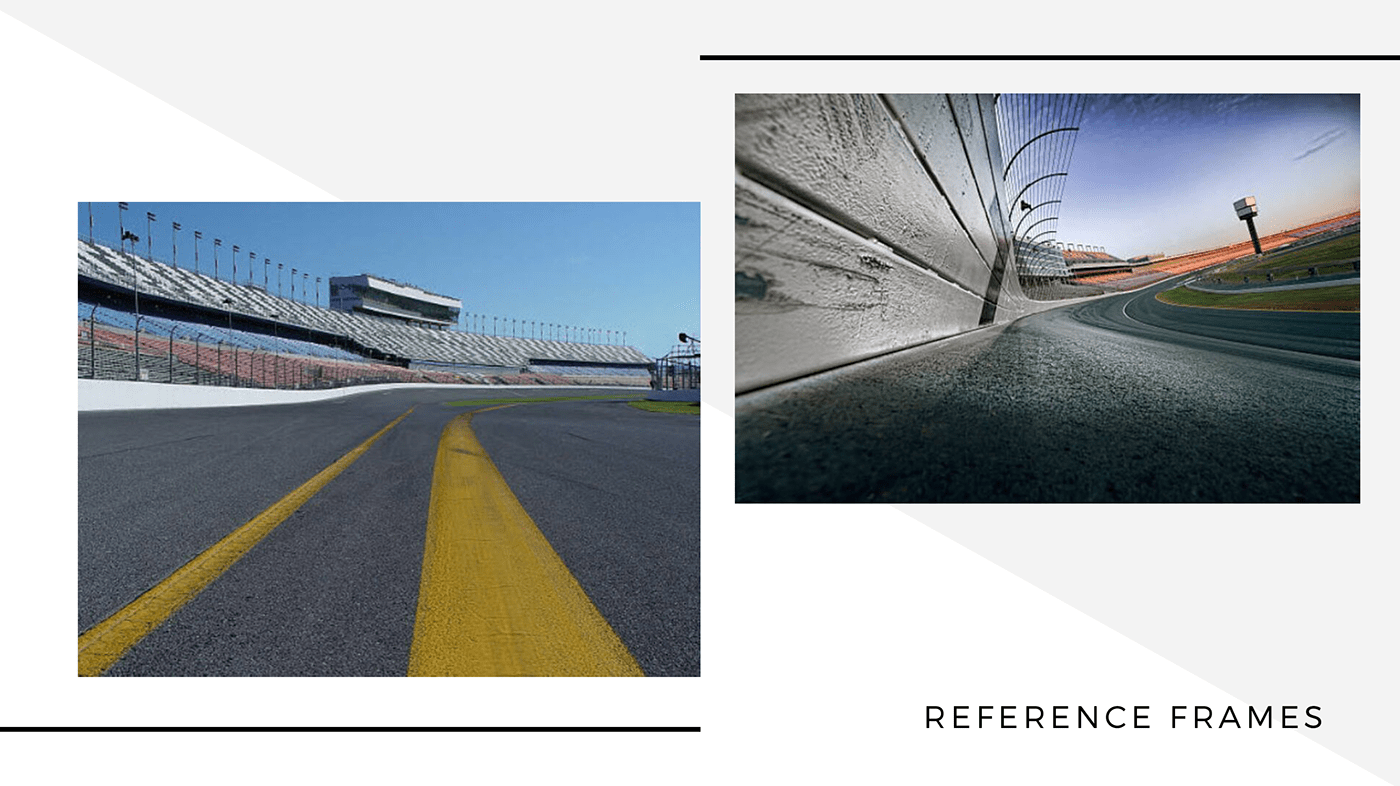
The rippling water was a tricky shot. The camera tracker tracked the reflection of the sign, and we needed to track the out-of-focus asphalt. In the end, we were able to planar track the surface using Mocha, which gave us corner pin data. With that, we applied Wave World to generate black and white ripples and used Red Giant's Chromatic Displacement, driven by the Wave World map to give the effect of water rippling.
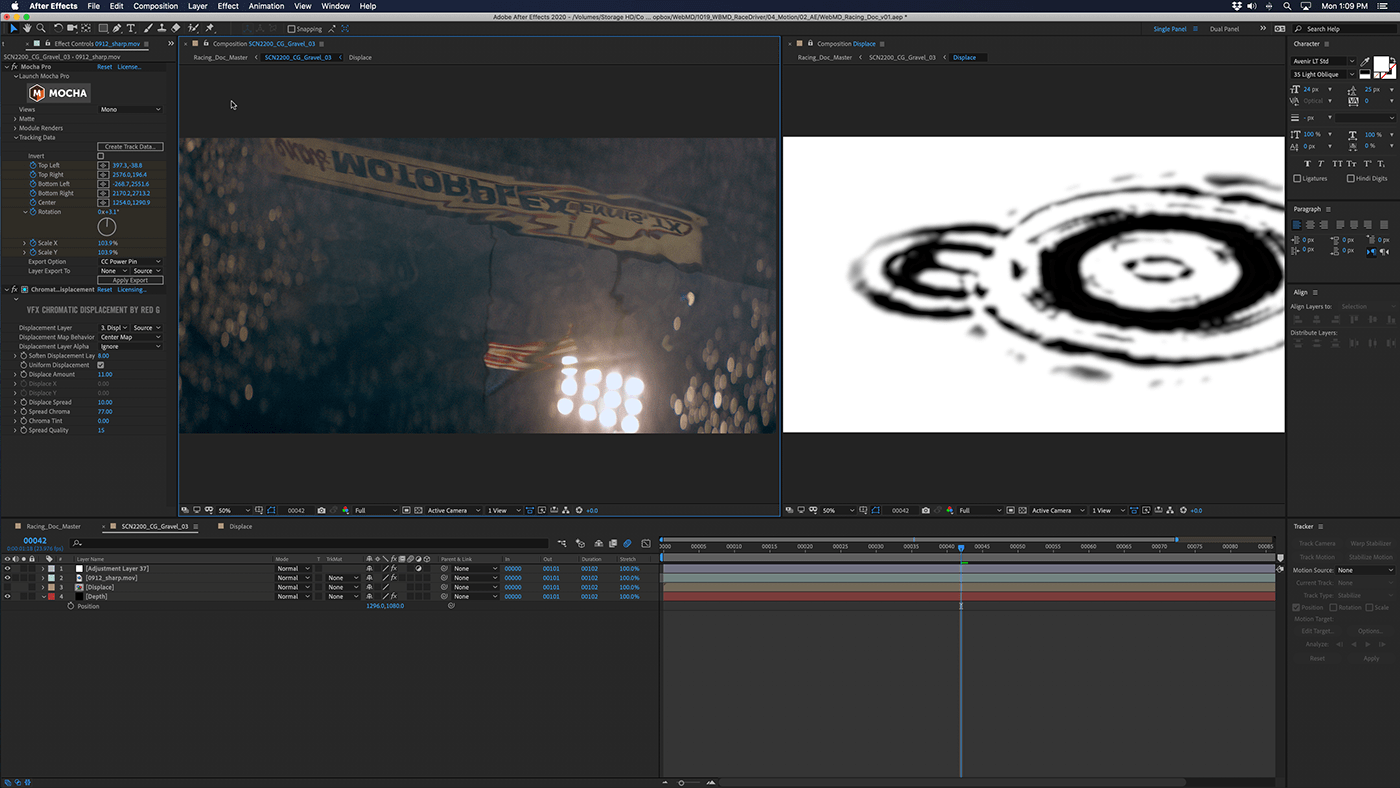
After Effects ripple scene setup.

Before & After rippling water.
MUSIC
For music, Chris Bartels initially sent sketches for Jonathan to use in the edit. Courtney gave direction to involving a clock as the base for much of the music. This would connect with both Paul's beating heart, and the clock ticking down quickly during a race. By having up-front sketches, we were able to start building a pace and mood for the film. Here are some initial sketches:
Thanks for visiting!
Client WebMD
VP of Editorial Content: Stephanie Snipes
Directed by Courtney Dixon
Cinematography by Thomas Simon
Creative Post by Coat of Arms
Post Produced by Clara Lehmann & Jonathan Lacocque
Edited by Jonathan Lacocque
Design Direction & Animation by Ryan Butterworth
Additional Animation & Compositing by Nidia Dias, Steve Savalle, & Terence Ginja-Martinho
Color Correction by Heather Hay
Sound Design & Mixing by Jenna Coyle
Original Music by Chris Bartels

